Getting Started #
Here you will learn more about your Orange Pi 3. What stuff you need to get started and how to set up the board.
Requirements #
1. Choose a Orange Pi 3 board. #
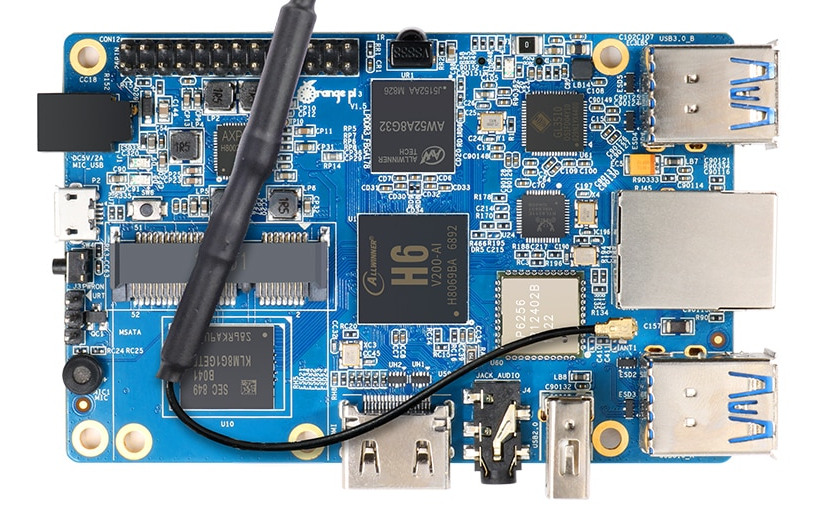
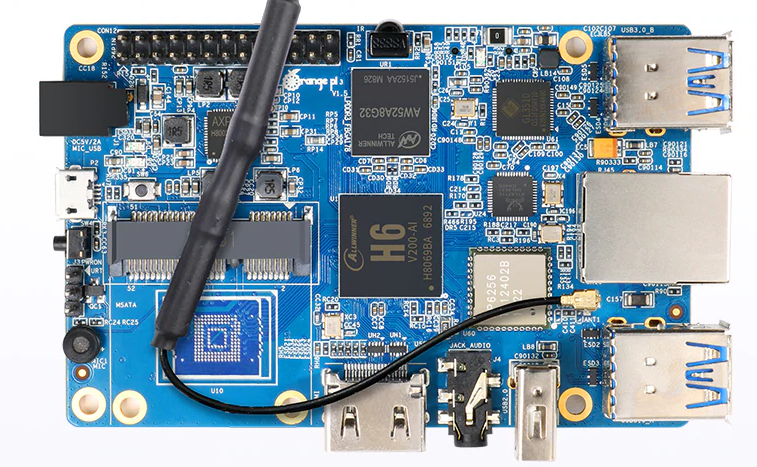
Orange Pi 3 comes with two variants. You can get either a board with 8GB onboard EMMC storage or there is a bit cheaper one without EMMC storage.
Orange Pi 3
Orange Pi 3 without EMMC
2. A power supply #
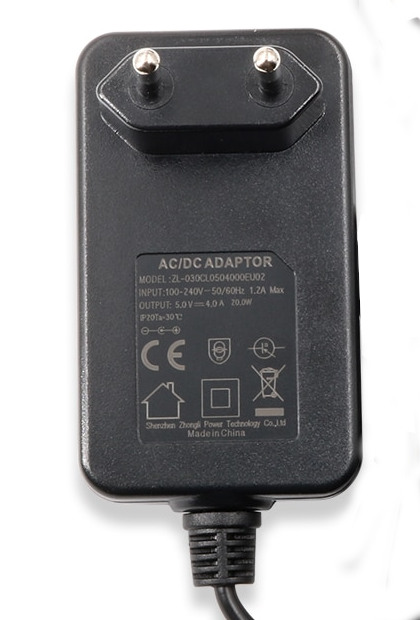
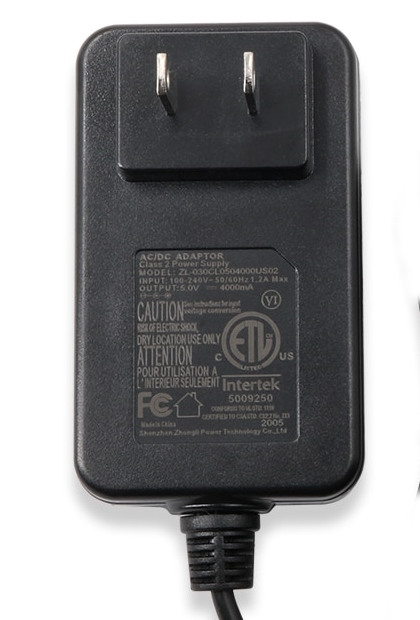
You need a power supply that provides at least 5 volts, 4.0 amps for Orange Pi3. The power adapter comes in two variants EU and US plug.
5V, 4A EU plug
5V, 4A US plug
3. A microSD card #
You need a microSD card with a capacity of at least 8 GB with class 10 speed rating.
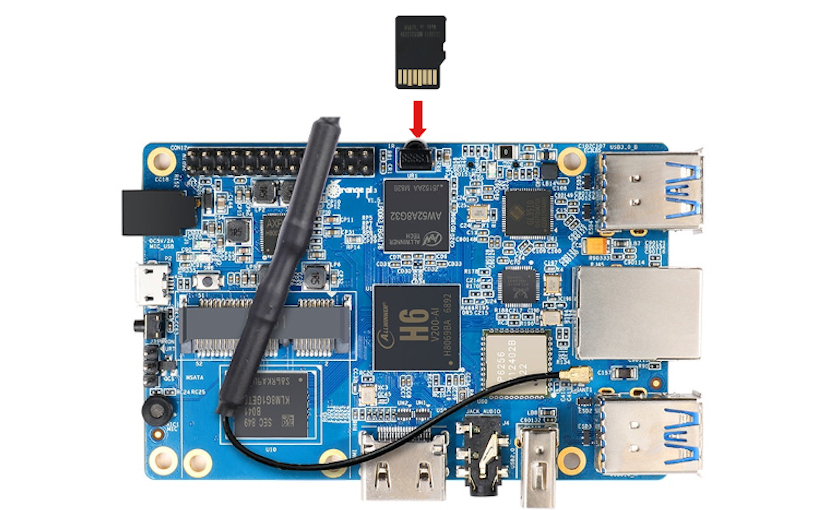
4. A keyboard and a mouse #
To setup Orange Pi 3 for the first time, you will need a USB keyboard and a USB mouse. A Bluetooth keyboard and mouse can also be used after first time setup is complete.
5. A computer moniter #
For Orange Pi desktop environment, you will need a screen and a HDMI cable for Orange Pi 3 to connect to screen.
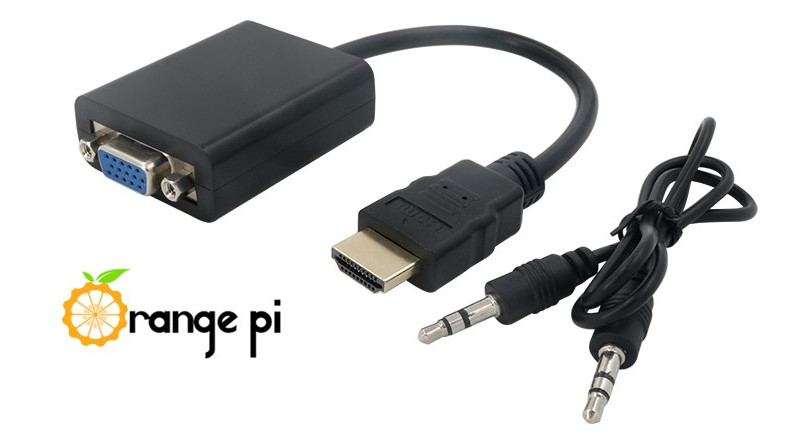
If you don’t have HDMI capable moniter screen then a VGA moniter can be used with a HDMI to VGA adapter like the one shown below:
Set up your SD card #
Please follow this guide for setup your MicroSD card.
Connect your Orange Pi 3 #
Step 1. Insert the SD card. #
Insert the SD card into the microSD card slot on the underside of your Orange Pi 3.

Step 2. Connect USB Mouse & Keyboard #
Connect the mouse to a USB port on Orange Pi 3 (it doesn’t matter which port you choose).

Step 3. Connect Ethernet cable(Optional) #
If you want to connect your Orange Pi 3 to the internet via Ethernet then use an Ethernet cable to connect the Ethernet port on Orange Pi to your internet router.

Step 4. Connect HDMI cable #
Connect your moniter to the HDMI port.

Step 5. Connect Audio cable #
Connect headphones or speakers to the audio port.

Power up your Orange Pi 3 #
Your Orange Pi 3 doesn’t have a power button. As soon as you connect it to a power source, it will power on.
Plug the power adapter into a socket and connect it to your Orange Pi 3 power port.
